Tuesday, May 23, 2017

Pool, front porch and CCTV updates

A few things have happened over the last couple of weeks.

CCTV System

I spent a couple of days installing and setting up our new CCTV system. We are really happy with the quality of the system and the ease of use after it is setup.

I purchased everything from Aliexpress.com which is basically a Chinese version of Ebay. If you go down this path make sure you do your research on who you are buying from. The savings are worth it however.

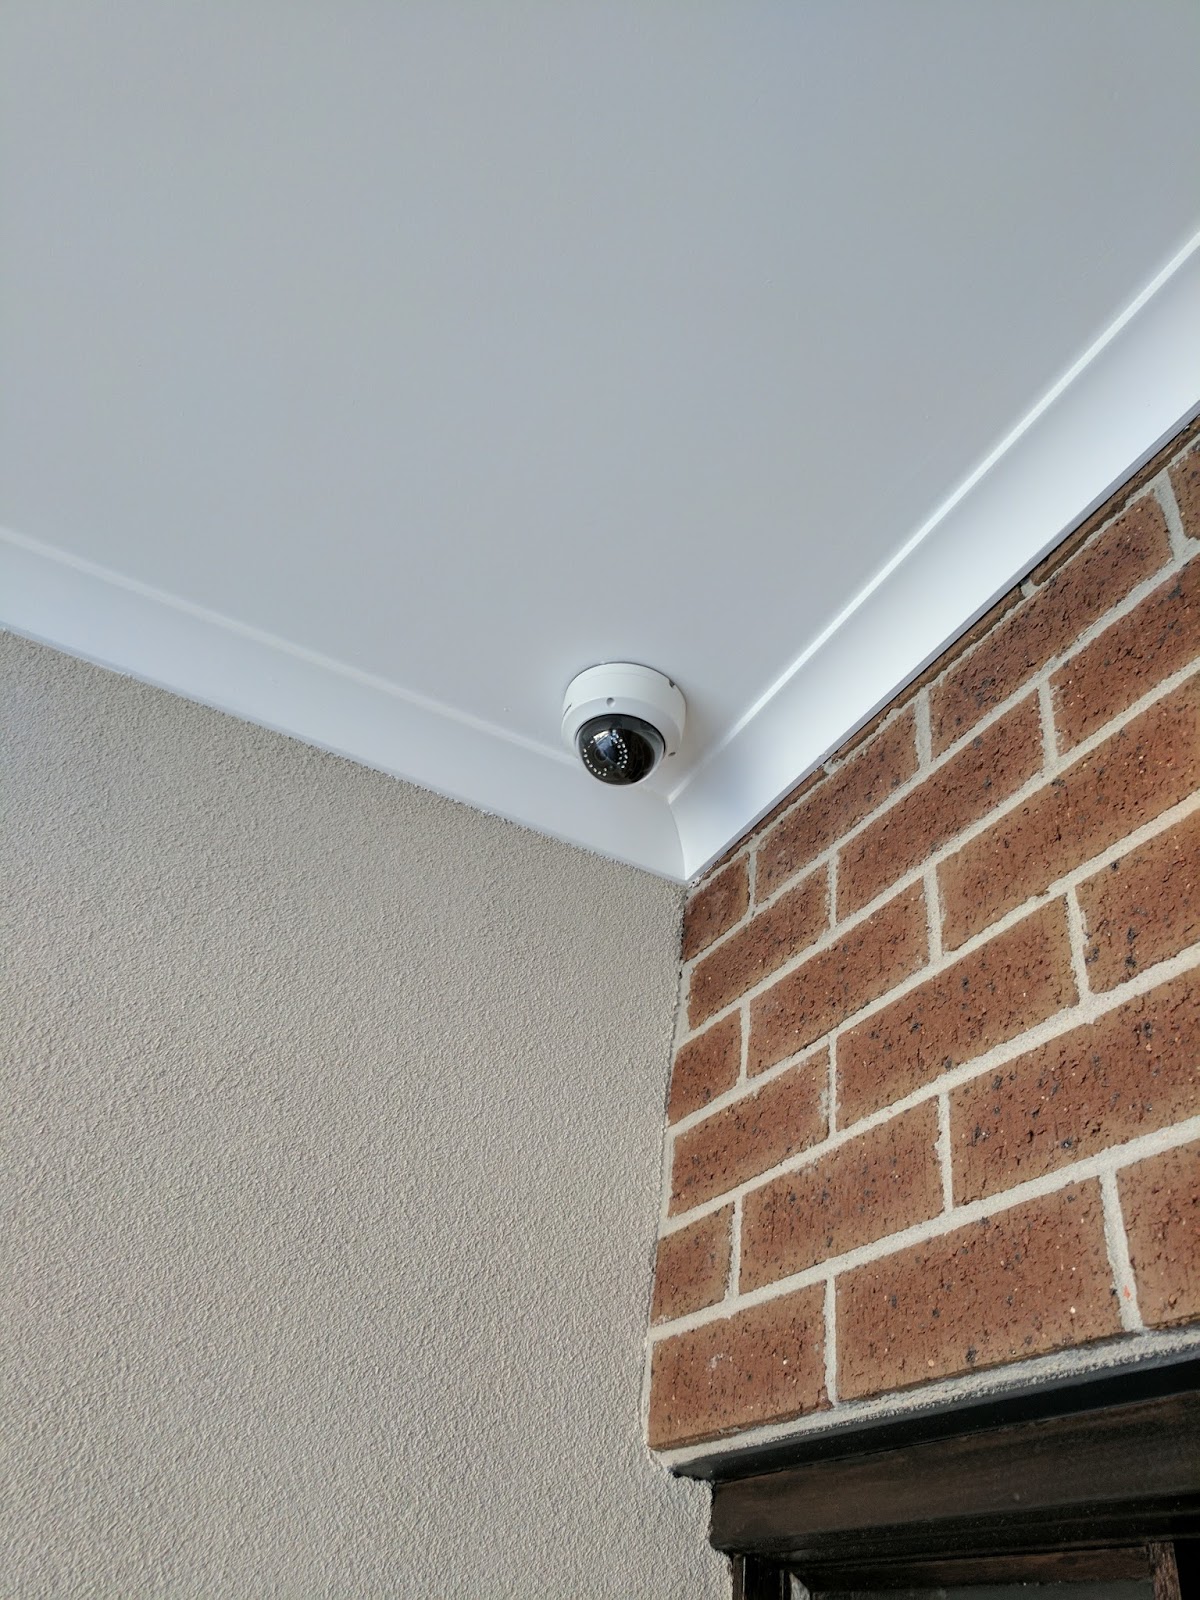
We have 9 cameras installed and all are able to be viewed from our phones when we are out and about. They are also set up with email alerts for when movement is detected in certain areas of the camera view. This is handy as an extra level of security.

It is an Network Video Recording system meaning everything is running over a network. The NVR is a POE (Power of Ethernet) system meaning that unit itself powers the cameras. This means each camera doesn't require a power point. Each camera is connected via ethernet cable running back to the NVR. The NVR is then connected to our router and internet.

The physical setup of the system wasn't difficult however it is time consuming and if you are not comfortable getting up in your roof or removing roof tiles I would recommend getting someone to do it for you.


Pool update

The pool landscapers were able to pave the coping tile however were unable to do the rest as we had to wait for the pool cover to be installed. That went in last Friday.

The coping tile looks great and we can't wait until the rest is finished. You can also now see how the pool cover sits. It is framed inside a box and then paved over the top. The only part of the cover you will see is the black plastic strip which is covering the aluminium hinged cover. The black plastic will be removed after the paving is finished.
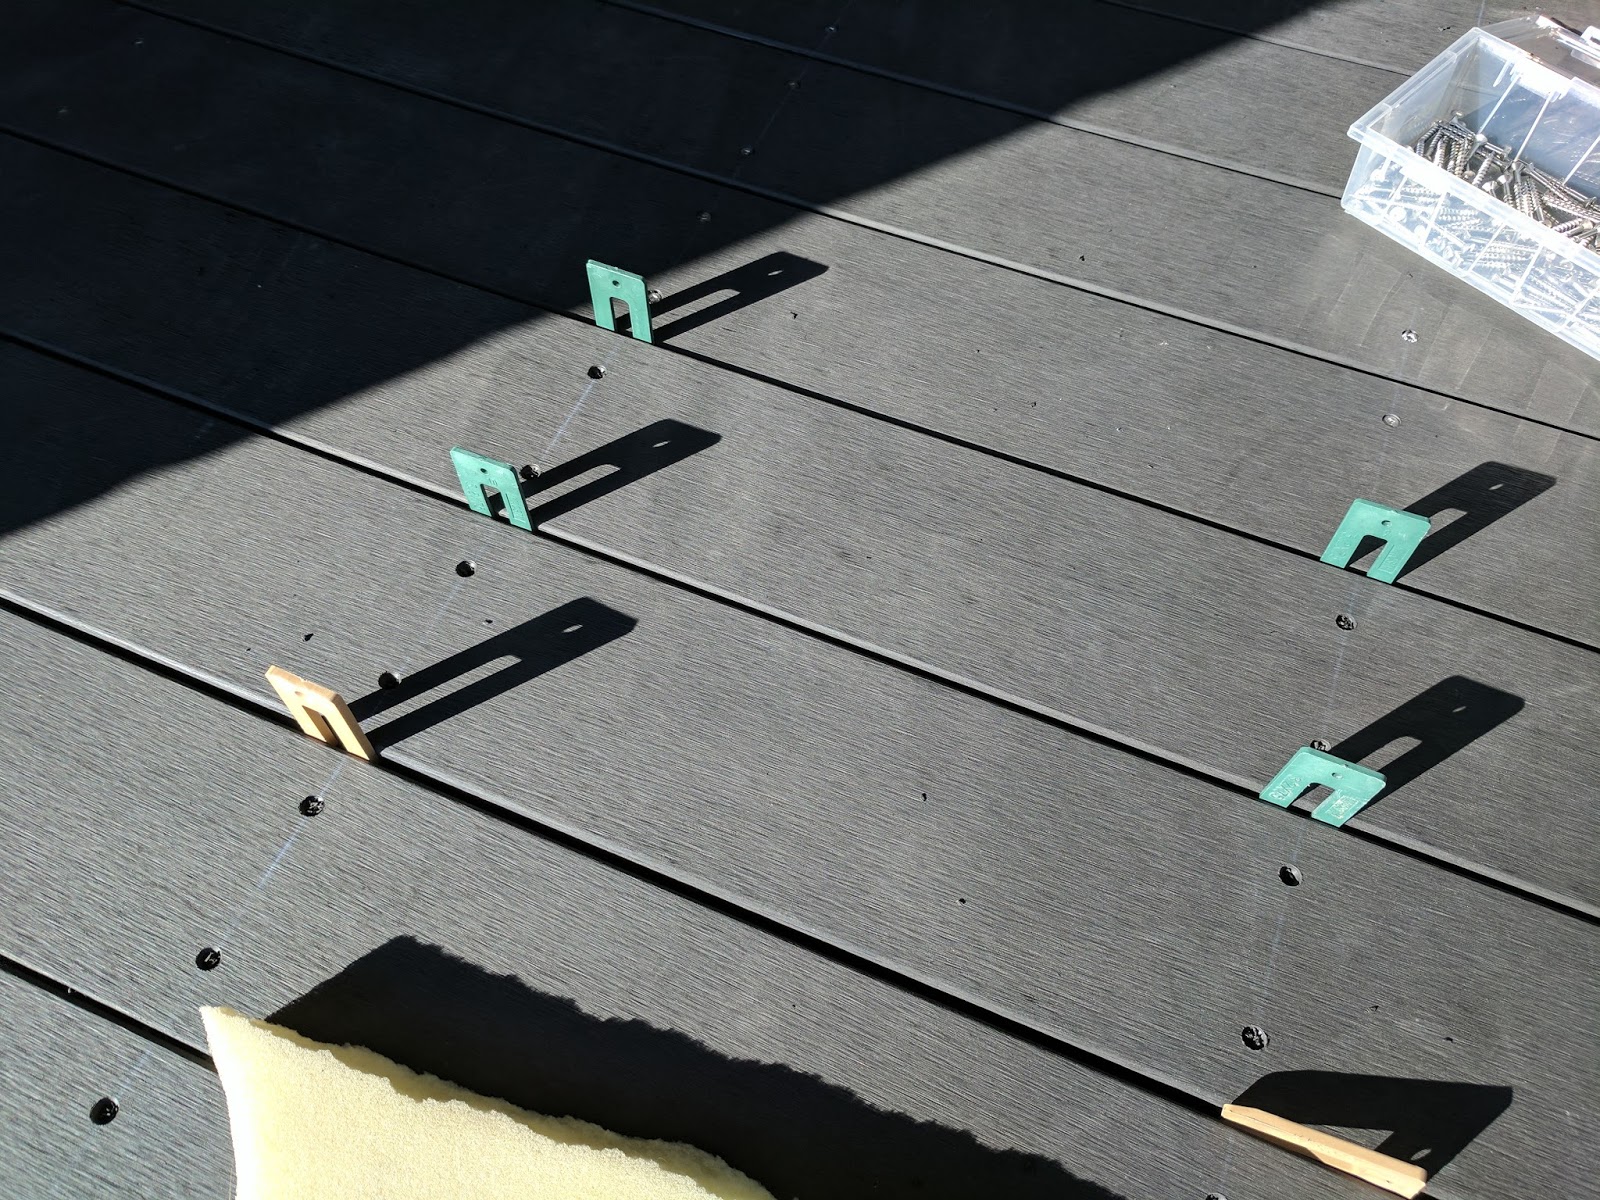


Front Porch

While all that was going on I built the front porch deck. This will be complimented with steps down to the footpath at a later date. I will also show some photos of the alfresco deck now that the table and BBQ have been placed there and used. Still loving it so far!


Gutter issues

And finally, I have been noticing a leak in one of the front facade gutters and when I got up near the roof to install the CCTV I noticed the gutters filled with water. It turns out the front left corner of the roof has moved under the weight of the roof tiles and this is causing the gutters to not be level and pool with water. The plumbers came out and inspected it however it isn't something they can easily fix. They may have to reinforce the frame meaning take apart some of the roof. I'll keep you posted to what they do to fix it!


Friday, May 12, 2017

I built a deck!

So I finally completed a projected I wanted to do for a long time. Building my own deck.

Ever since we decided on a floor plan for our house and saw the alfresco I had decided that I wanted to give building a deck a go.

The first decision was to work out what material I wanted to use.

I settled on Ekodeck. It is a plastic composite which I was interested in as it should hopefully mean low maintenance.
https://www.ekologix.com.au/ekodeck/

Next step was to draw up a plan of what I wanted to build. I drew this up on the computer which helped me in working out how much material I needed to buy. I purchased all the timbre joists, Ekodeck and bolts/screws/brackets from bunnings and had them delivered. All up the material cost around $3,000


7m wide X 3m depp
As you can see from the design it isn't a standard deck. I had a border around the outside and two breaker boards (running vertically in the picture above) which helped break up the deck into three sections. This meant I wouldn't have to but join the Ekodeck boards which are only 5.4m long.

With no experience in deck building or timber work I spent my time on Youtube and Google learning what I needed to do.

I started with the timber joists and built the borders first. I used an off cut of one of the Ekodeck boards to help space out the joists. I used 75mm screws to join all the joists together. Probably overkill for what I was building but at least it was solid.
Offcut used to make sure joists were spaced correctly.

I purchased a sliding mitre saw which was invaluable for this project.


Once all the borders were built I started laying out the joists throughout the middle of the framework. I built the two breaker board joists first and then measured even spaces between those and spaced out the joists from there.


Once all the joists were built I started bolting and nailing everything together. Up until this point I was only laying them out to make sure they all measured up.

I used 5mm thick L brackets with anka screws into the concrete and hex screws into the joists. I also used L brackets with nails to secure the joists to the border frame.


Once everything was bolted and secured I added some extra noggins to stop any side to side flex in the joists.


Once I was happy with the joists I started adding the Ekodeck to the borders. Having the borders done first helped to make sure the deck was square and the remaining pieces all fit together nicely. I used spaces to make sure the gaps between the house walls and pillars and between the corner joins were even.


I continued using the spaces between each board. I made sure that I measured each space before I cut the board so that the cuts were in a straight line.


End result. I think it looks great!
 I didn't add any fascia boards to the sides of the deck as
this will be hidden anyway by future grass and paving.